Are you interested in creating your own custom boxes but not sure where to start? Building your personalized packaging can feel overwhelming, but with the right guidance, it can be simple.
In this article, we will guide you through the steps to assemble custom boxes easily. By following these instructions, you can create the perfect packaging for any product or gift. Let’s begin!
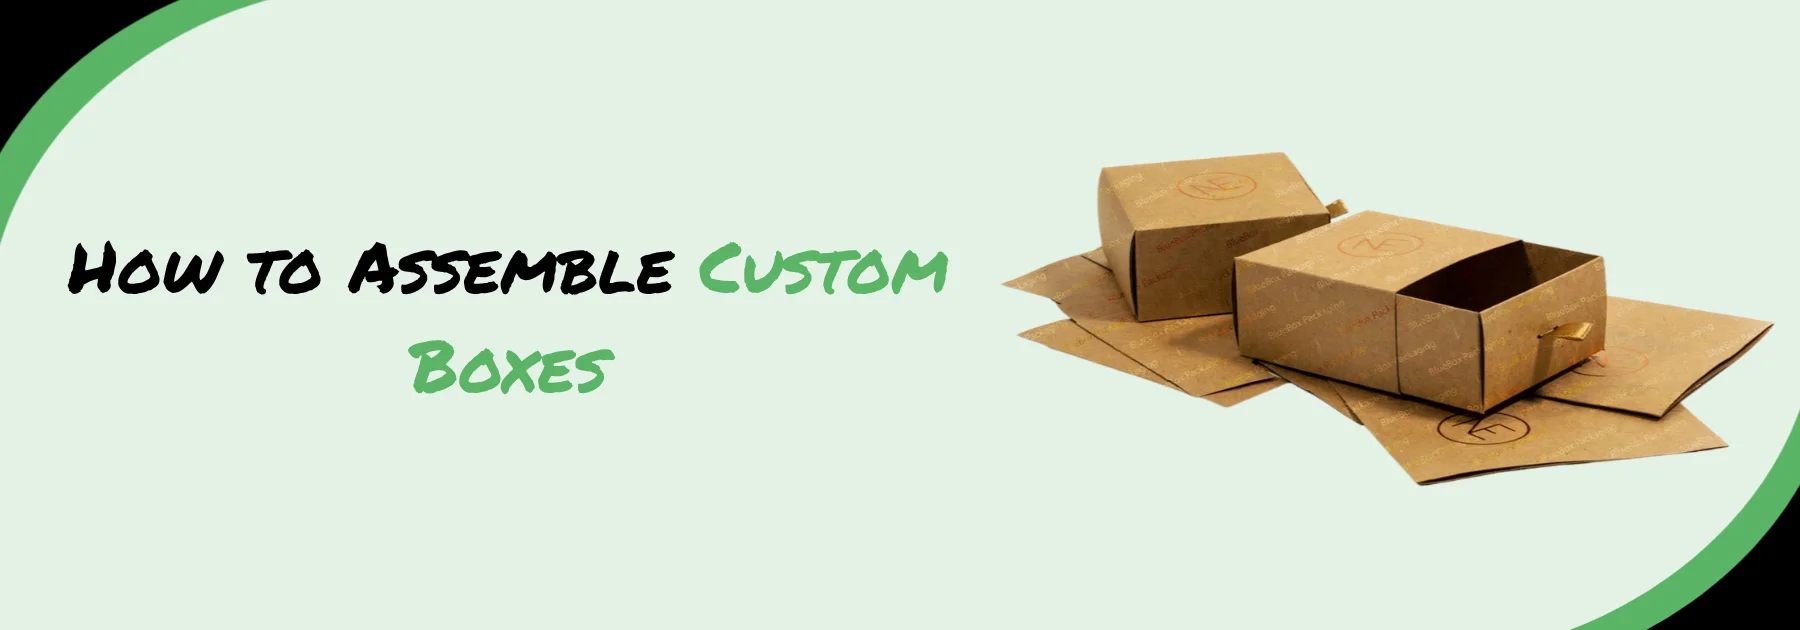
Cardboard boxes
Cardboard boxes come in various sizes, making them versatile for packaging needs. From small boxes ideal for delicate items to larger boxes suitable for moving household goods, there is a flat box available for every purpose. When assembling these boxes, packaging tape is a key tool in ensuring the contents remain secure during transit. By firmly sealing the edges and flaps with tape, the box maintains its shape and prevents items from shifting inside.
Efficiently stacking and storing cardboard boxes is essential for maximizing space and organization. By placing heavier boxes at the bottom and lighter ones on top, the risk of boxes collapsing is minimized.
Additionally, storing boxes in a dry and cool environment helps prevent damage from moisture or humidity. These simple yet practical tips can help individuals assemble and utilize flat boxes effectively for their packaging needs.
Packaging tape
Packaging tape comes in different types: clear, brown, and reinforced. Each type varies in strength and adhesion to secure custom boxes. The tape choice can affect how durable the packaging is during storage and transportation.
For example, using low-quality tape might cause the box to fall apart, risking damage to the contents. It’s crucial to pick a tape that matches the weight and size of the box to ensure it stays sealed during shipping.
Choosing the right packaging tape improves package safety and security. It reduces the chances of damage and ensures the contents arrive undamaged at their destination.
Clear a flat surface
To prepare a flat surface for assembling custom boxes:
- Start by removing unnecessary items and clutter.
- This creates a clean workspace and reduces distractions.
- Ensure all materials like flat boxes, packing tape, and cushioning are easily accessible.
- Organize these items logically to save time and minimize confusion.
- A clear and organized work area is important for efficiency and accuracy.
- It helps you focus on packaging without disruptions or delays.
- Keeping the surface clutter-free streamlines the process and ensures accurate assembly.
Organize your materials
Materials needed for organizing should be easy to access. To assemble custom boxes effectively, make sure materials are sorted and categorized for efficient organization. Prepare labels or markers in advance to help identify and stack items within the boxes easily. Use a flat box as a base for assembling to maximize space and ensure secure storage. This method streamlines the organization process, maintaining a neat storage solution.
Fold the Box Flaps
Place the box upside down
To properly assemble custom boxes, follow these simple steps:
- Place the box with the opening facing downward.
- This ensures that the flaps are ready for folding and sealing.
- Carefully fold the flaps in the designated sequence.
- This is crucial for creating a sturdy structure.
- Follow the assembly instructions for correct assembly.
- Ensure the box is flat and stable before starting.
- This prevents misalignments and weaknesses.
- Starting with the box upside down is an effective technique for accurate assembly.
Fold in the small flaps first
When assembling a flat box:
- Folding in the small flaps first is a foundational step.
- It ensures a secure and stable structure for the final product.
- Starting with the smaller flaps allows for precise alignment of the panels.
- This aids in the overall symmetry and integrity of the box.
- It helps establish a solid base for the larger flaps.
- This contributes to the coherence of the box assembly.
- Folding in the small flaps before the larger ones prevents misalignments or buckling.
- Following this sequence is important to avoid issues.
- This methodical approach streamlines the packing process.
- It enhances the overall presentation and functionality of the custom box.
Fold in the larger flaps next
When assembling custom boxes:
- Start by folding in the smaller flaps first.
- Then, move on to the larger flaps.
This process helps create a sturdy foundation, preventing any possible openings. Folding in the larger flaps next ensures the box remains intact during transit and handling. This simple technique can make a significant difference in packaging durability. A properly folded flat box is key in protecting items and presenting them professionally.
Secure the Bottom
Apply packaging tape along the seams
To make sure the flat box stays secure during shipping or storage, use packaging tape along the seams. Press the tape firmly to avoid gaps that could weaken the box. To do this correctly, you’ll need a tape dispenser. It helps manage and cut the tape to the right length. Using a dispenser ensures smooth application without wrinkles.
By using a tape dispenser, the process is easier and gives a tidy finish. This simple step can greatly boost the strength and durability of custom boxes, protecting the contents better.
Add Your Items
Items like clothing, books, and electronics can be put in a flat box for easy shipping or storage.
- Secure the items in the box with bubble wrap for fragile items or tissue paper for clothing.
- Add multiple pieces to maximize space efficiency based on the item size.
- Ensure the items fit comfortably without overfilling to prevent damage or sealing issues.
- Custom flat boxes can be made to securely accommodate different products for shipping or storage by considering their size and packaging requirements.
Close the Box
To assemble custom boxes, follow these simple steps:
Fold all flaps neatly for a sturdy structure.
Close the box by folding smaller flaps first, then larger ones for a secure closure.
Secure the bottom using sturdy packaging tape along the seam where flaps meet.
Press the tape tightly to prevent items from falling out during transit.
Following these steps ensures an efficient and secure assembly, protecting contents during shipping or storage.
Label Your Box
Labeling your box before storing or moving it is important for easy identification and organization.
By clearly labeling a flat box, you can quickly see what’s inside, where it should go, and how to handle it.
Include details like the box’s contents, its destination, and any handling instructions, such as “Fragile” or “This Side Up.”
This helps ensure the box is handled correctly and reaches its destination undamaged.
Consistent labeling also makes unpacking easier, saving time and effort searching for specific items.
Using a unique identifier or numbering system on boxes can help track inventory during a move or storage.
Remember, a well-labeled flat box can make assembling and organizing custom boxes smoother and more efficient.
Stack and Store
To secure the bottom of a cardboard box for stacking and storing, you can reinforce it using sturdy adhesive tape or glue along the seams. This helps keep the box flat and stable for safe stacking without collapsing.
Labeling boxes for easy stacking and storing involves clearly marking them with contents and destination. This makes identification and organization easier, reducing confusion during stacking.
Using clear and concise labeling methods like color-coding or detailed information on each box improves the efficiency of the stacking and storing process.
Properly securing and labeling flat boxes is essential for maintaining an organized and functional storage system.
Summary
To assemble your custom boxes, follow these simple steps:
- Gather all the necessary materials and tools.
- Lay out the box template and fold along the scored lines.
- Use adhesive to secure the flaps and edges in place.
- Add any finishing touches and decorations as desired.
FAQ
What tools do I need to assemble custom boxes?
To assemble custom boxes, you will need tools such as a tape gun, scissors, a ruler, and packing tape. These tools will help you secure the box, cut the tape, measure dimensions accurately, and ensure a sturdy finish.
Do I need any special skills to put together my custom boxes?
No, you do not need any special skills to put together custom boxes. Simply follow the provided instructions and use basic tools like tape and scissors. Some companies even offer pre-folded boxes for easy assembly.
Is there a specific order in which I should assemble my custom boxes?
Yes, there is a specific order to assemble custom boxes. Start by folding in the side flaps, then the bottom flaps, insert your products, and finally fold down the top flaps for closure. Follow any specific instructions provided by the manufacturer for optimal assembly.
How long does it typically take to assemble custom boxes?
The time it takes to assemble custom boxes varies depending on the size and complexity of the design. Generally, it can take anywhere from a few minutes to an hour for simpler designs, while more intricate boxes may require several hours or even days to assemble.
Can I get help with assembling my custom boxes if needed?
Yes, we offer assembly assistance for custom boxes if needed. Our team of experts can provide step-by-step guidance or even assemble the boxes for you at an additional cost. Contact us for more information.